Recurrent days is referring to the length of days for the post to recur. If you set that to 7 day, it will recur once a week (or every 7 days). Setting it to ‘1’ means the post will recur every day.
The recurrent expire count refers to how many times a post will be published before falling off.
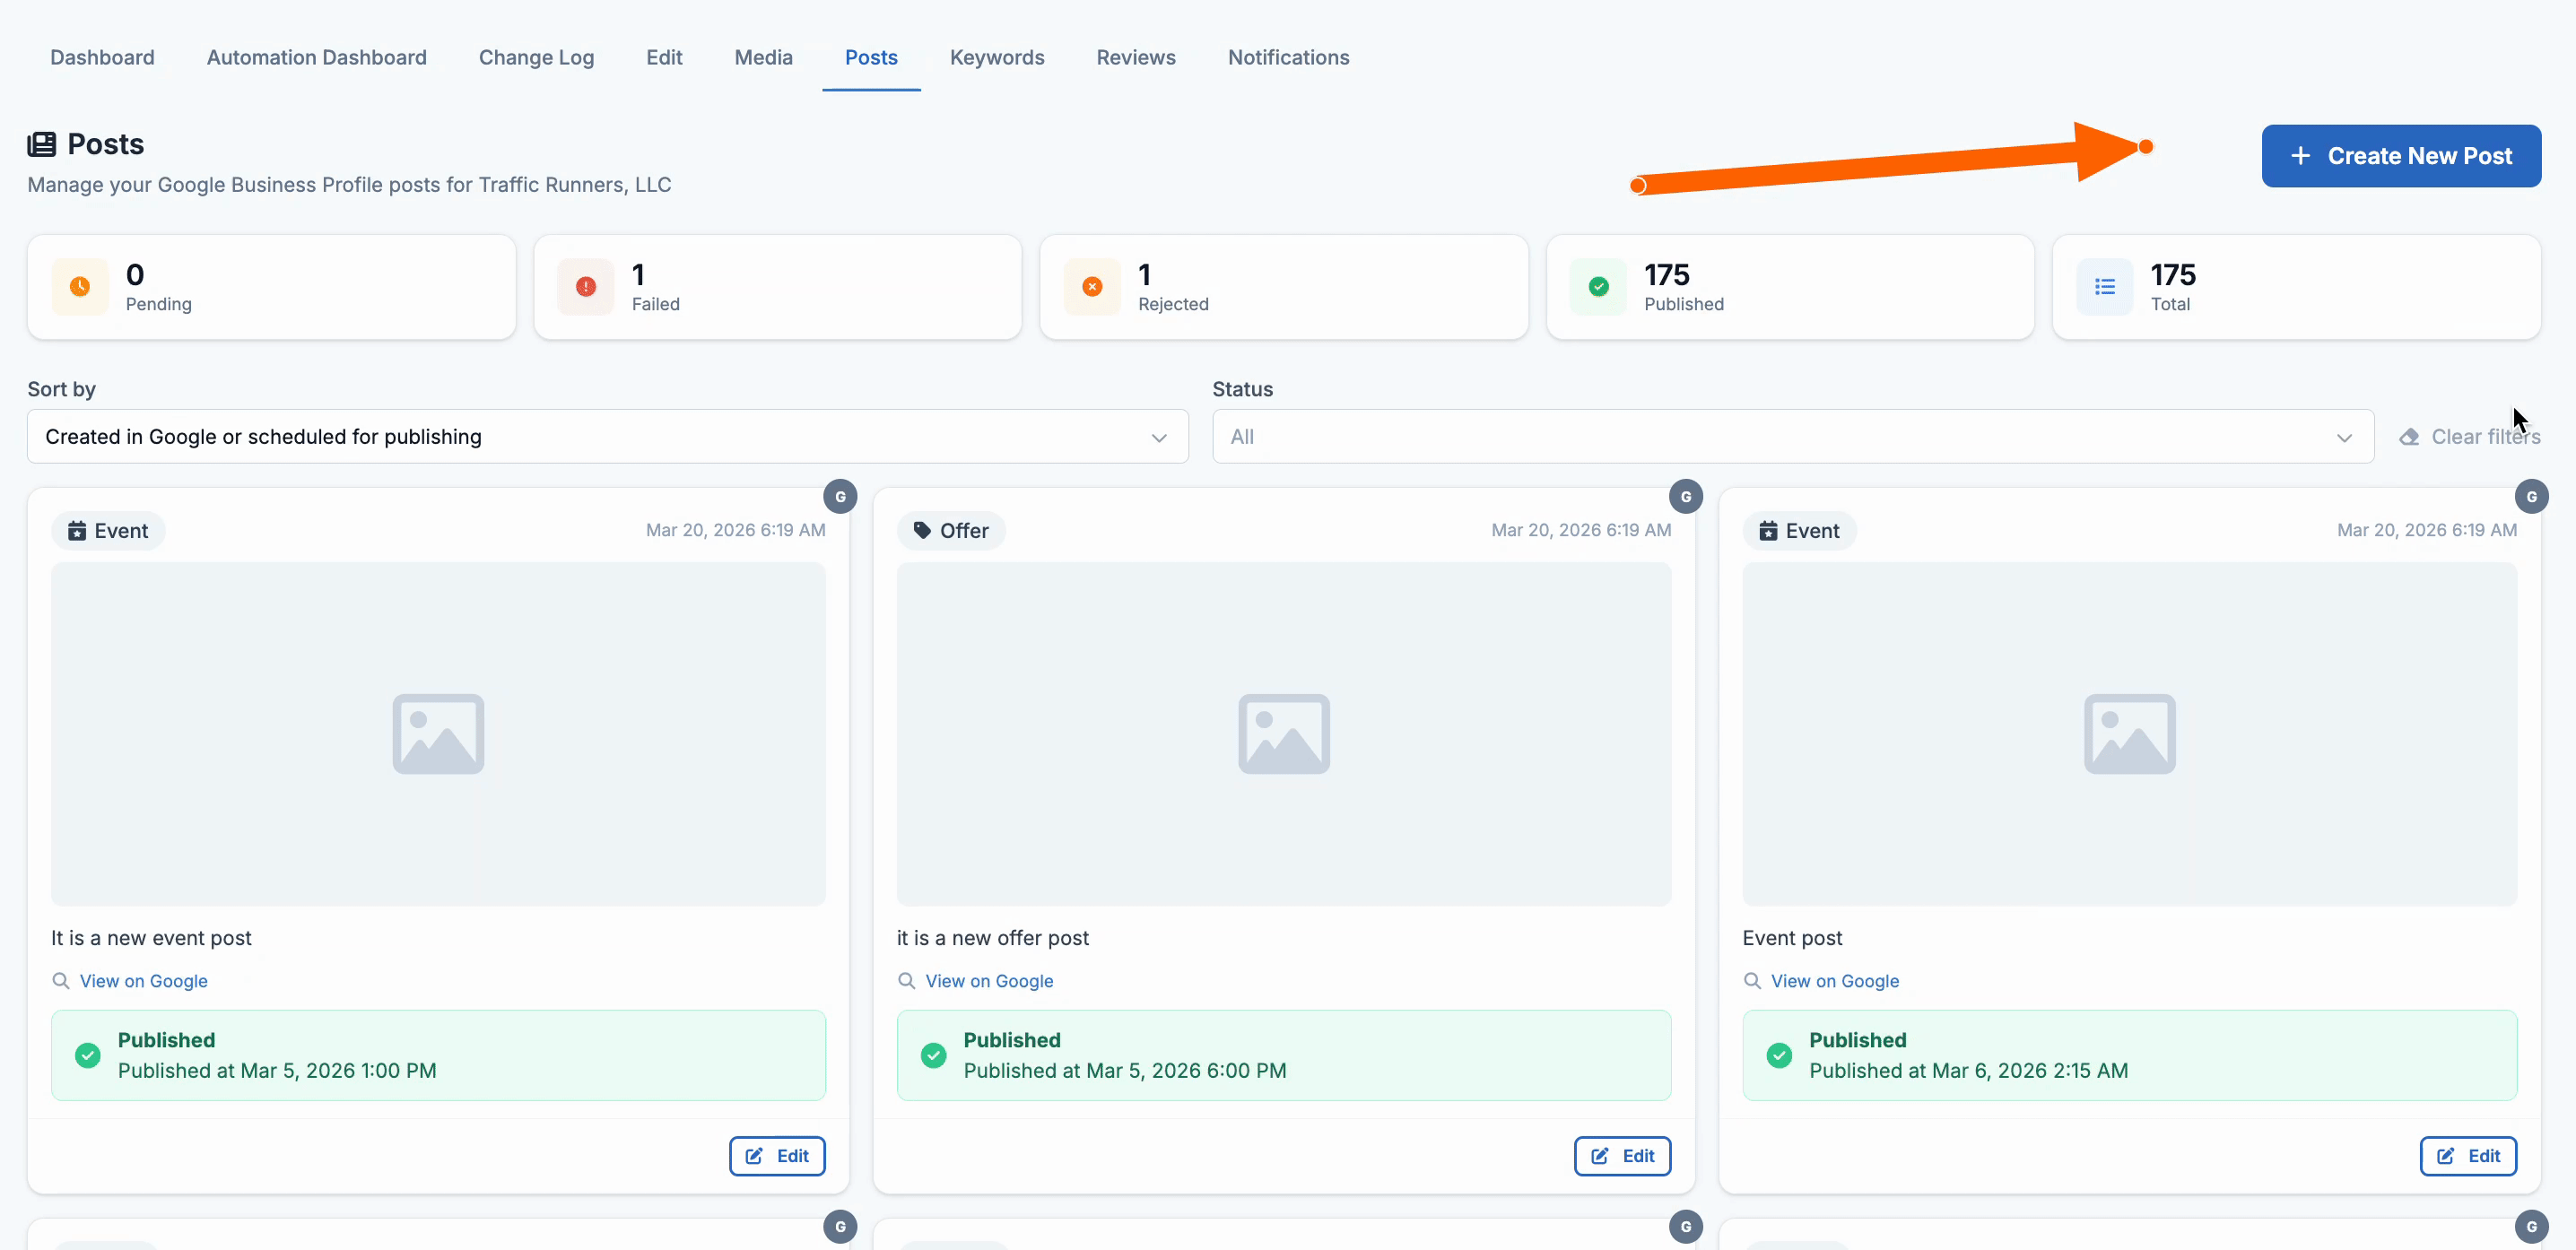
What Is the Posts Tab?
The Posts tab is where you create and manage all the posts that go out on your Google Business Profile. From here you can write new posts, schedule them in advance, set them to repeat automatically, and track the status of everything you've published.
You can also see posts that were rejected or deleted by Google — which is important for staying on top of your content and understanding why something may not have gone live.
Google Business Profile posts are a great way to share updates, promotions, and events directly with customers searching for your business. Regular posting can help your profile stand out.
Understanding Post Statuses

|
Status |
What it means |
|
🟡 Pending |
The post has been created and is waiting to be reviewed or published. It has not gone live yet. |
|
✅ Published |
The post is live and visible on your Google Business Profile. |
|
❌ Rejected |
Google reviewed the post and did not approve it. This could be due to content that violates Google's posting guidelines. |
|
❌ Failed |
it is a post that LocalOptics tried to publish to your Google Business Profile but was unable to do so |
How to Create a Post
1. Click Create Post
From the Posts tab, click the Create Post button. This will open the post creation form.
2. Choose your post type
Select the type of post you want to create — Event, Offer, or Alert. Each type has slightly different fields
3.Set up your Action
Go to the Actions section and set a name and action for your post. An action is a button that appears on your post — for example 'Learn More', 'Call Now', 'Book', or 'Order Online'. This gives customers a clear next step.
4.Write your post content
Add your post text. Keep it clear and relevant to what you're promoting. Avoid overly promotional language as this can cause Google to reject the post
5. Add an image (optional but recommended)
Select an image to go with your post. Posts with images tend to perform better and attract more attention. Make sure the image is high quality and relevant to the post content
6. Schedule or publish
Choose when you want the post to go live:
- Publish now — the post goes live immediately on your Google Business Profile
- Schedule for later — pick a specific date and time for the post to go live
- Set as recurring — the post repeats automatically on a schedule you define
Recurrent days is referring to the length of days for the post to recur. If you set that to 7 day, it will recur once a week (or every 7 days). Setting it to ‘1’ means the post will recur every day.
The recurrent expire count refers to how many times a post will be published before falling off.